Over the years, I’ve received a few invitations from FlexClip to review their products.
The latest of these was in July 2023 when they asked me to review their new AI functions and I decided to try them out. You can read that review of FlexClip’s AI here.
Or read on for my original FlexClip product review…
FlexClip – What’s it Like?
The guys at FlexClip obviously believed in their product, had read my in-depth review of InVideo, and wanted some of the action.
So eventually I decided to try out FlexClip.
Cathy, who reached out from FlexClip, offered to allow me to test-drive the premium package.
But first I wanted to see what the free version was like.
- What does it do?
- Is it any good?
- Can I create a decent video with it?
So here’s my review of the free version of FlexClip.

Creating a Free FlexClip Account
From the home page, it’s easy to create a FlexClip account.
You need an email address. And you need to create a password.
FlexClip asks for an indication of what you’re likely to use it for. I chose social media. But it seems to make no difference, whatever you choose.
At this point, FlexClip sends you an automated welcome email with a clickable link to confirm your account.
And the process continues to be easy.
Once logged in, the choice is simple:
- Create a video from a template
- Start from scratch
The screen also told me that I could create 12 projects in the free account.
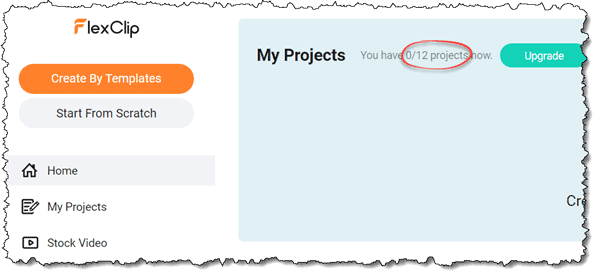
I chose to use a template.
And in the templates, I chose to create an intro.
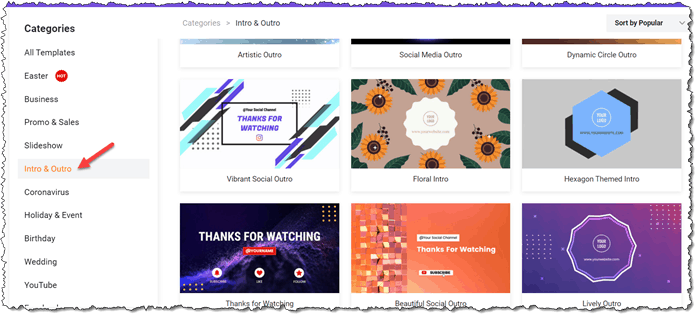
If you hover over any of the templates, it will play automatically, so you can see what it looks and sounds like.
Once you’ve chosen the template, click on customise.
Then double-click on any text to modify it.
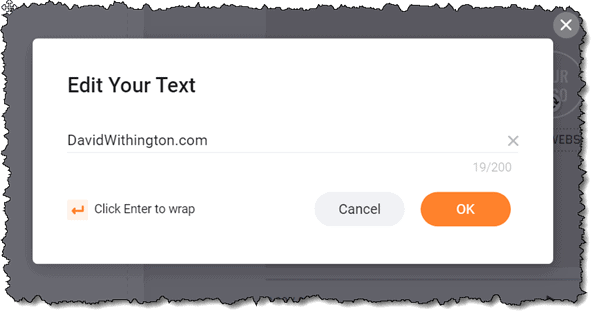
Similarly, double-click on the logo to upload your own.
Check it’s looking good. Then click export.
Using a template, it’s as simple as that.
Quality
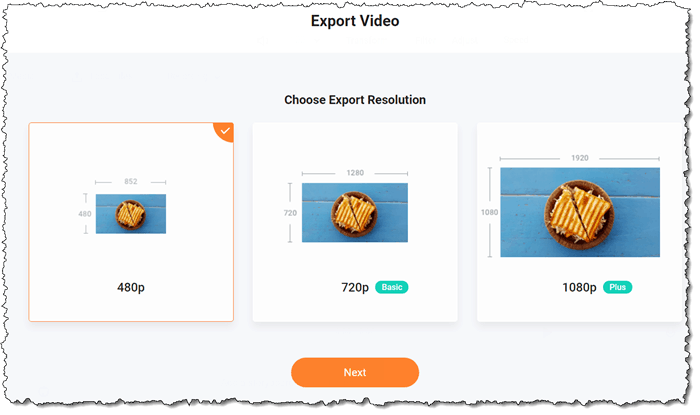
In the free version, you’re limited to 480p.
Obviously, that will affect the quality.
But watch the sample videos I made – and you can make up your mind if the quality is acceptable.
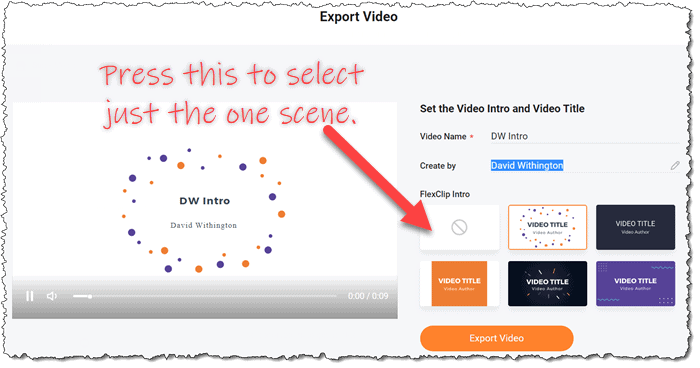
In the next step, I was asked to type in a video name and the name of the creator.
That step confused me a little, because then it created another scene with a Flexclip promo to play just before the one I’d made.
But to get around that, I selected just the scene I’d created and pressed “Export Video”.
Exporting & Downloading the FlexClip Video
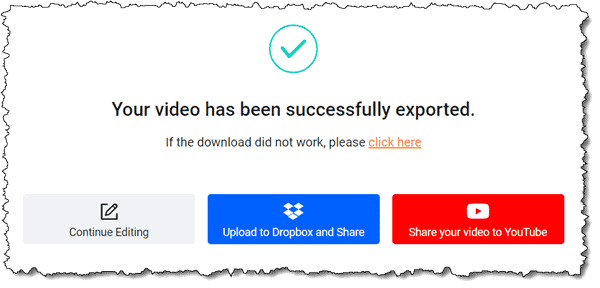
Once it had exported, the video downloaded automatically.
And on that same page, it also gave the opportunity to upload to Dropbox or share to YouTube.
I was curious – so I went back to see what would happen if I clicked on one of the other icons which included the extra scene it had created for me.
Yep. I made a second video using both scenes.
Again, that was all done and downloaded automatically.
Here are the two videos I made.
- The intro on its own
- The intro with the additional scene
FlexClip Online or on Your Computer
You can also download and install Flexclip onto your computer.
What’s the difference?
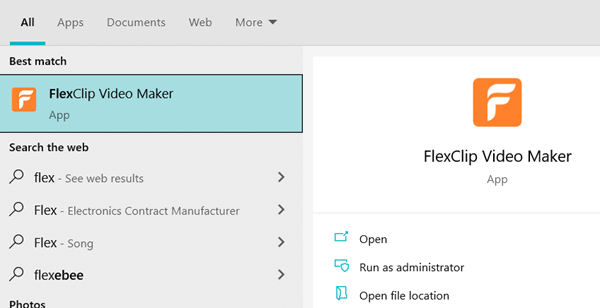
Rather than log in on a browser, you can click the icon on your desktop, or launch it from the Windows search bar.
Does having the app make a difference?
I didn’t notice any difference.
Except, of course, the convenience.
FlexClip Video Formats
I noticed that most of the video formats are landscape.
That’s great for YouTube.
But what about other formats, such as for Instagram?
I hopped over to the social media section – and discovered a few vertical format templates too.
But most are landscape.
FlexClip Premium
Next, I took up FlexClip’s offer of a trial of their premium account.
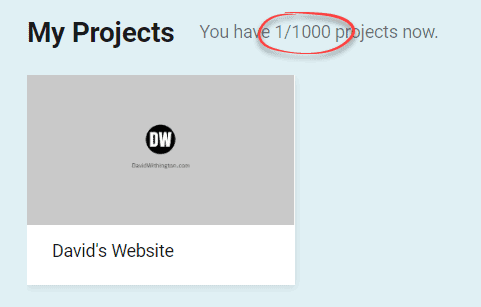
And the first thing I noticed was I now have 1000 projects instead of 12.
FlexClip’s Templates
So again I chose a template.
And I clicked on the text to change it.
Easy so far.
What I wanted to do is change it from landscape to vertical portrait mode, so that I could send the video on WhatsApp and people could watch it easily on their phones. But there was no option to do that.
Again, there were two choices:
- The video, just as it is.
- The video with an introduction (i.e. the title and your name or business name).
With option 2, even using the premium product, the FlixClip branding was prominent.
Exporting and downloading was done in one easy step.
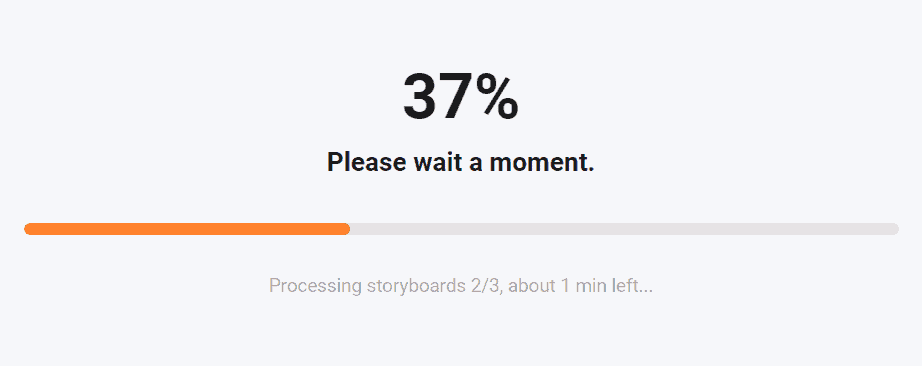
The large on-screen bar gives you a good idea of how long you have to wait.
The premium package gives you access to the higher quality videos, so this time I chose 1080p.
It was only a short video so it took about a minute.
When I selected a template to try but didn’t use it, it ended up in “My Projects” and counted against the 1000 allowance.
But it’s easy to delete it from there.
Video From Scratch
Next, rather than use a template, I decided to create a video from scratch.
And I was surprised how easy FlexClip made this.
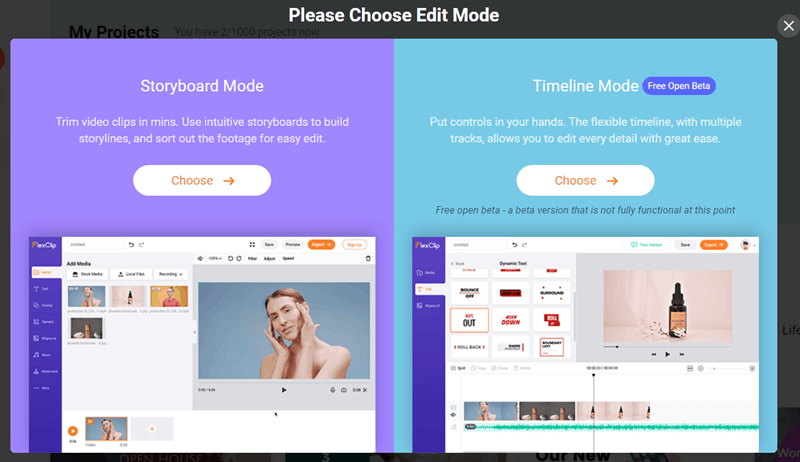
FlexClip presented me with two choices of Edit Mode:
- Storyboard Mode
- Timeline Mode (currently in beta)
I chose Storyboard Mode, keen to discover what it did, and how it would help me make a video.
FlexClip Video Ratios
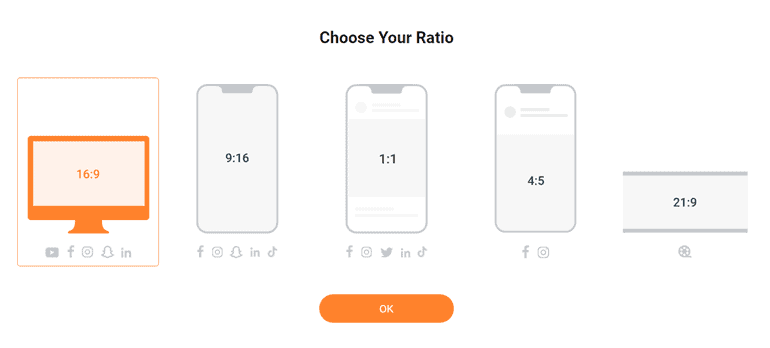
The next step was refreshing.
Up to now, I’d been disappointed about the lack of choices. The templates had largely been landscape.
But now I was able to choose.
Hmm…
What happens if I choose 9:16 and press OK?
I’m taken to the section where I can add media.
And the media choices are:
- Stock Media
- Your own local files
- Record your screen or use your webcam
Smart.
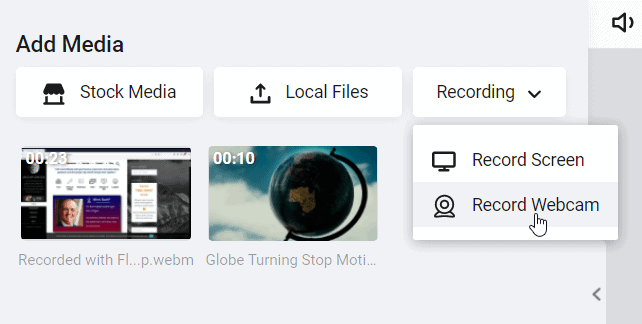
Record Screen
I recorded my screen.
It recorded in landscape mode.
But my video needed to be in portrait mode.
Was that a problem?
No. I was able to record, then select that recorded video from the panel, and position it within the frame to show just the section I want people to see.
And all without referring to any guides.
So that’s scene 1 done.
FlexClip Stock Media
For scene 2, I used some stock media from FlexClip’s library, a decent library of videos and photos which is divided into sections such as business, nature, travel, etc.
Onto that I added some text, using one of FlexClip’s offerings of fancy title entrances.
And for the third scene… hmm… which should I choose?
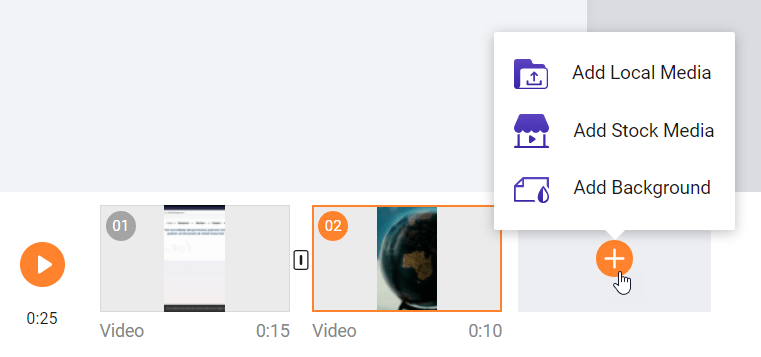
Record From WebCam
I decided to record my own “piece to camera”.
First I needed to add a background scene.
That’s easy – just select “Add Background”.
Then I recorded a clip, using my webcam.
As expected, I had to give FlexClip permission to use the camera and microphone. And I was able to choose the relevant camera and mic too.
I was also able to trim it to get rid of any mistakes at the beginning and end.
Then I dragged that clip into the new background scene I’d already created.
Transitions
Rather than a straight cut between scenes, FlexClip offers a selection of transitions.

So I clicked the transition button and chose a 28-second piece of music from FlexClip’s library (you can upload your own music if you like).
So far, everything had worked automatically and simply.
My video consisted of two silent scenes and one scene of me speaking to camera.
When I added the music track, I hoped it would recognise the audio on the final scene and thus reduce the music’s volume at that point.
But unfortunately, it didn’t. And I couldn’t find anywhere to adjust it manually.
Altering the volume manually changes it for all the scenes.
Other FlexClip Effects
FlexClip offers lots of effects, including
- zooming in
- filters
- speed adjustment
- rotating your image or video clip
My Test Video
Anyway… here’s the portrait-format video I made.
Remember it’s 3 scenes:
- Screen recording of my website homepage
- Stock video clip from FlexClip’s library
- Recording to webcam
Conclusion
I think FlexClip’s most powerful selling point is its simplicity.
It’s very easy to use.
I made a few videos without having to refer to any instructions.
Comparison
I also use InVideo, and did an InVideo review here.
So if I were to compare the two, I’d say:
For simplicity and ease of use: FlexClip wins.
For flexibility, creativilty and the ability to fine-tune, InVideo wins.
As I write, FlexClip is available as a $49 lifetime deal on AppSumo (that link is my refer-a-friend link, which is worth $10 credit to us both if you use it to buy the FlexClip lifetime deal).
Or, even cheaper, here’s the Flexclip website, where you can get the free version.
Which Would I Choose?
If I was starting out with creating short videos, I’d choose FlexClip.
But I’ve already been spoiled by the powerful and versatile InVideo.
As they say, it’s “horses for courses”. You need to decide which is right for you.
If you’re new to creating videos, FlexClip is a brilliant product.
What's the FlexClip video creator like? Is it easy to use? Is the free account any good? Is the premium version worth paying for? Here's what happened when it was tested. Share on X




Leave a Reply